
Teaching Tuesday-Week 4
Would you like a little "Dip" for that "Chip"board??
I bet you all have some chipboard in your stash of scrapping goodies that you don't know what to do with-monograms, hearts, flowers, buckles, tags, scrolls to name just some! Seeing that this week's challenge is to use chipboard, why not pull out some of that "undressed" chipboard, dip into your scrap collection and have fun embellishing.
There are countless ways to make your pieces "delicious" and add texture and bling to your layouts, cards and altered projects!
Here are just a few things to dip into-
~Paint! Grab the perfect shades of paint! Dip that brush into your paint and add a splash of wonderful to your naked chipboard! Tip: Chipboard is pourous and paint will cause the chipboard to buckle so you should paint both sides.
~Cover them with patterned paper or cardstock! For an added touch of an "aged" look, sand the edges.
~ How about adding INK directly on to the raw chipboard! And then, placing another "script" stamp pattern over the top of that! Awesome look!
~Fabric! Check through your stuff for a great piece of fabric and place it on top of your chipboard. For added texture, leave the edges somewhat jagged and torn and ink the edges!
~Flowers, brads, jewels are neat on a piece of chipboard as well! Yum!
~ Who doesn't like to dip into the bling, bling! Cover your chipboard with glue and sprinkle glitter all over it!!! Wow!!! Instant sparkle. Let it dry and you are ready to add your chipboard to your piece of artwork!
~ Ribbon, twill, ricrac, or fibres tied on your chipboard! Amazing look!
So, there you have it! Some "dip" for your "chip"board! Have fun "dipping" into your stash and coming up with your own ways of fancying up that raw, naked, undressed chipboard! Oh and remember, double-dipping IS allowed!!!! Enjoy!
And Lois has some wonderful tips for everyone as well!
She says... "My favourite technique lately has been paint and crackle. The first time I used this was for a challenge on Pick of The Patch where I had to make my own paper. I painted crackle glaze (available in any craft store) over brown cardstock and let it dry…then I painted on a paint that was very light in color so the brown would show through the cracks. After it all dried I lightly sanded the whole thing. I loved how it turned out and have been using it a lot. You can use any color under the crackle but you have to use an opposite color on top or you won’t see the cracks very well. It looks great on chipboard pieces too."
And here's another tip..."I have been making art cards lately and have been using plain cardboard, (the free kind that comes as backing for things in packages) painted and using the crackle technique, then inking the edges and making heritage type cards. You can use up a lot of bits of leftover paper and small embellishments and still have something nice to give or trade away. I was at Dragonfly Scrapbooking yesterday showing my friend Colleen these cards…she loved the idea and asked me if I wanted to co-ordinate trading…so maybe I will!"
Have a totally tremendous Tuesday, everyone!
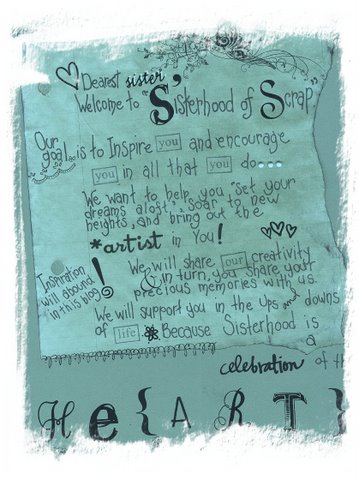
Sisterhood...a celebration of the he{ART}


3 comments:
Love that - try some "dip" with your "chip"! Great ideas!
great ideas for chip and dip :)
Lois... thanks so much for the crackle technique..very intresting idea...will have to try this!!
here is what I came up with..I find it very difficult to use big cp...
http://i21.photobucket.com/albums/b291/rachaelsmom1/underyourumbrella.jpg
KArlynn
Post a Comment